What are community assets? Here’s how to map them
Codesign in educational research is a participatory approach to identifying problems and designing solutions. Whereas traditional research relies on external experts, codesign centers educators as equal partners in the research process.
The first step in a successful codesign research project is to decide who will form the research team and identify other stakeholders. Part of this process involves mapping community assets.
But what exactly are community assets, and how do you map them? This article will answer these questions.
What are community assets?
A community asset — also known as a community resource — is any collective knowledge, skills, talents, or resources that belong to the community and can help it solve its problems.
While it’s important to identify needs and what’s lacking, it’s equally important to look at a community’s strengths and opportunities — particularly as those closest to the problem are also often closest to the solution.
Every community has its own set of unique skills, talents, and other resources on both the individual and collective levels that can prove invaluable to a research project.
Examples of community assets
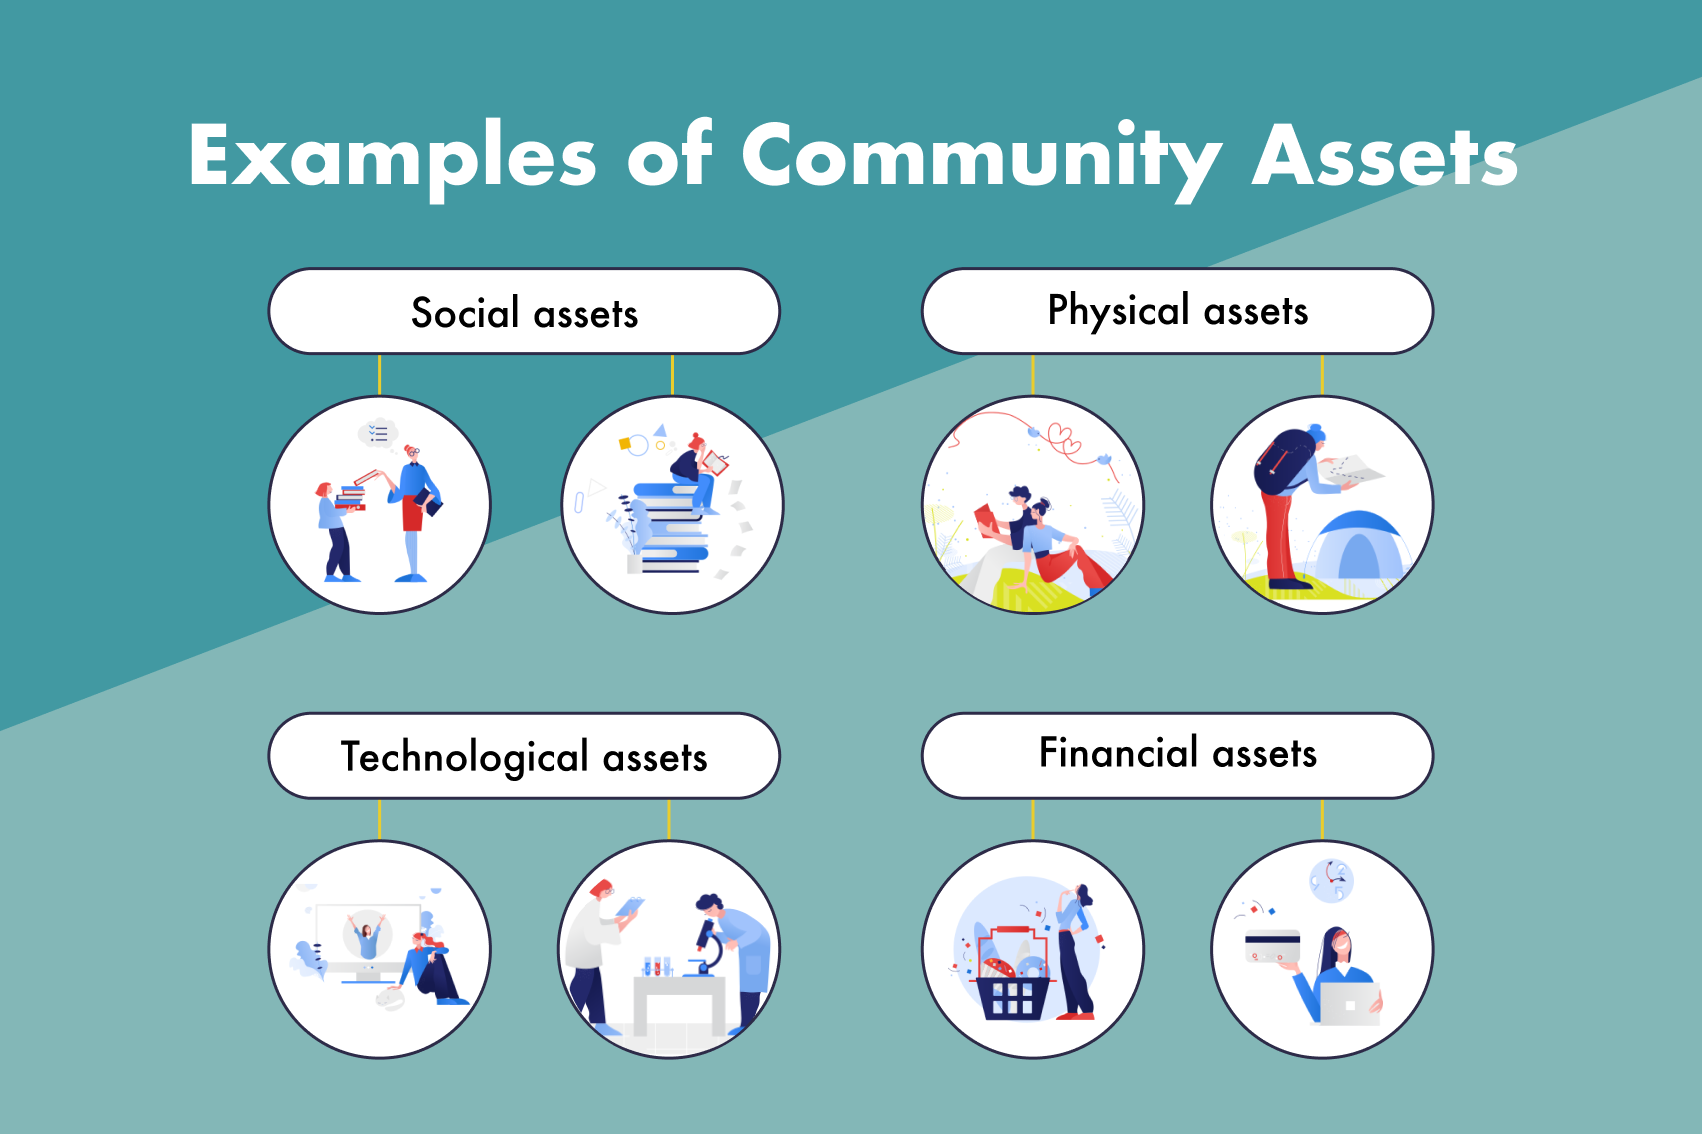
So what do community assets look like in real life? Here are some examples.
Social assets
Social assets include individual people with their gifts, skills, and knowledge, such as teachers, parents, students, entrepreneurs, young people, and older adults. Each of these community members has unique and valuable perspectives to share.
Social assets also include local organizations, such as parent-teacher associations, local charities, education groups, environmental groups, and special needs groups.
Physical assets
Physical assets are places or structures at a community’s disposal. This can include community gardens, sports facilities, youth clubs, parks, local nature areas, parking lots, playgrounds, foot and cycling paths, and picnic areas.
Technological assets
Technological assets include hardware (such as computers and internet routers) and software programs (like Microsoft Office or Adobe). It can also include apps, smartphones, tablets, and any other technology the community can access. For example, if your school has a computer lab, that’s a technological asset.
Financial assets
Financial assets are any money or grants available for the research project. This may come from donations from local businesses or banks, or it could be a government grant.
How do you map community assets?
Before starting your research project, you’ll need a clear understanding of the community assets available to support it.
To do this, you’ll need to bring all the members of the community together to create a shared understanding of each person’s expertise, assets, and what they can bring to the project.
During the launch phase of the project, you’ll need to carry out two activities: opportunity mapping and community asset mapping. This step-by-step guide will explain how.
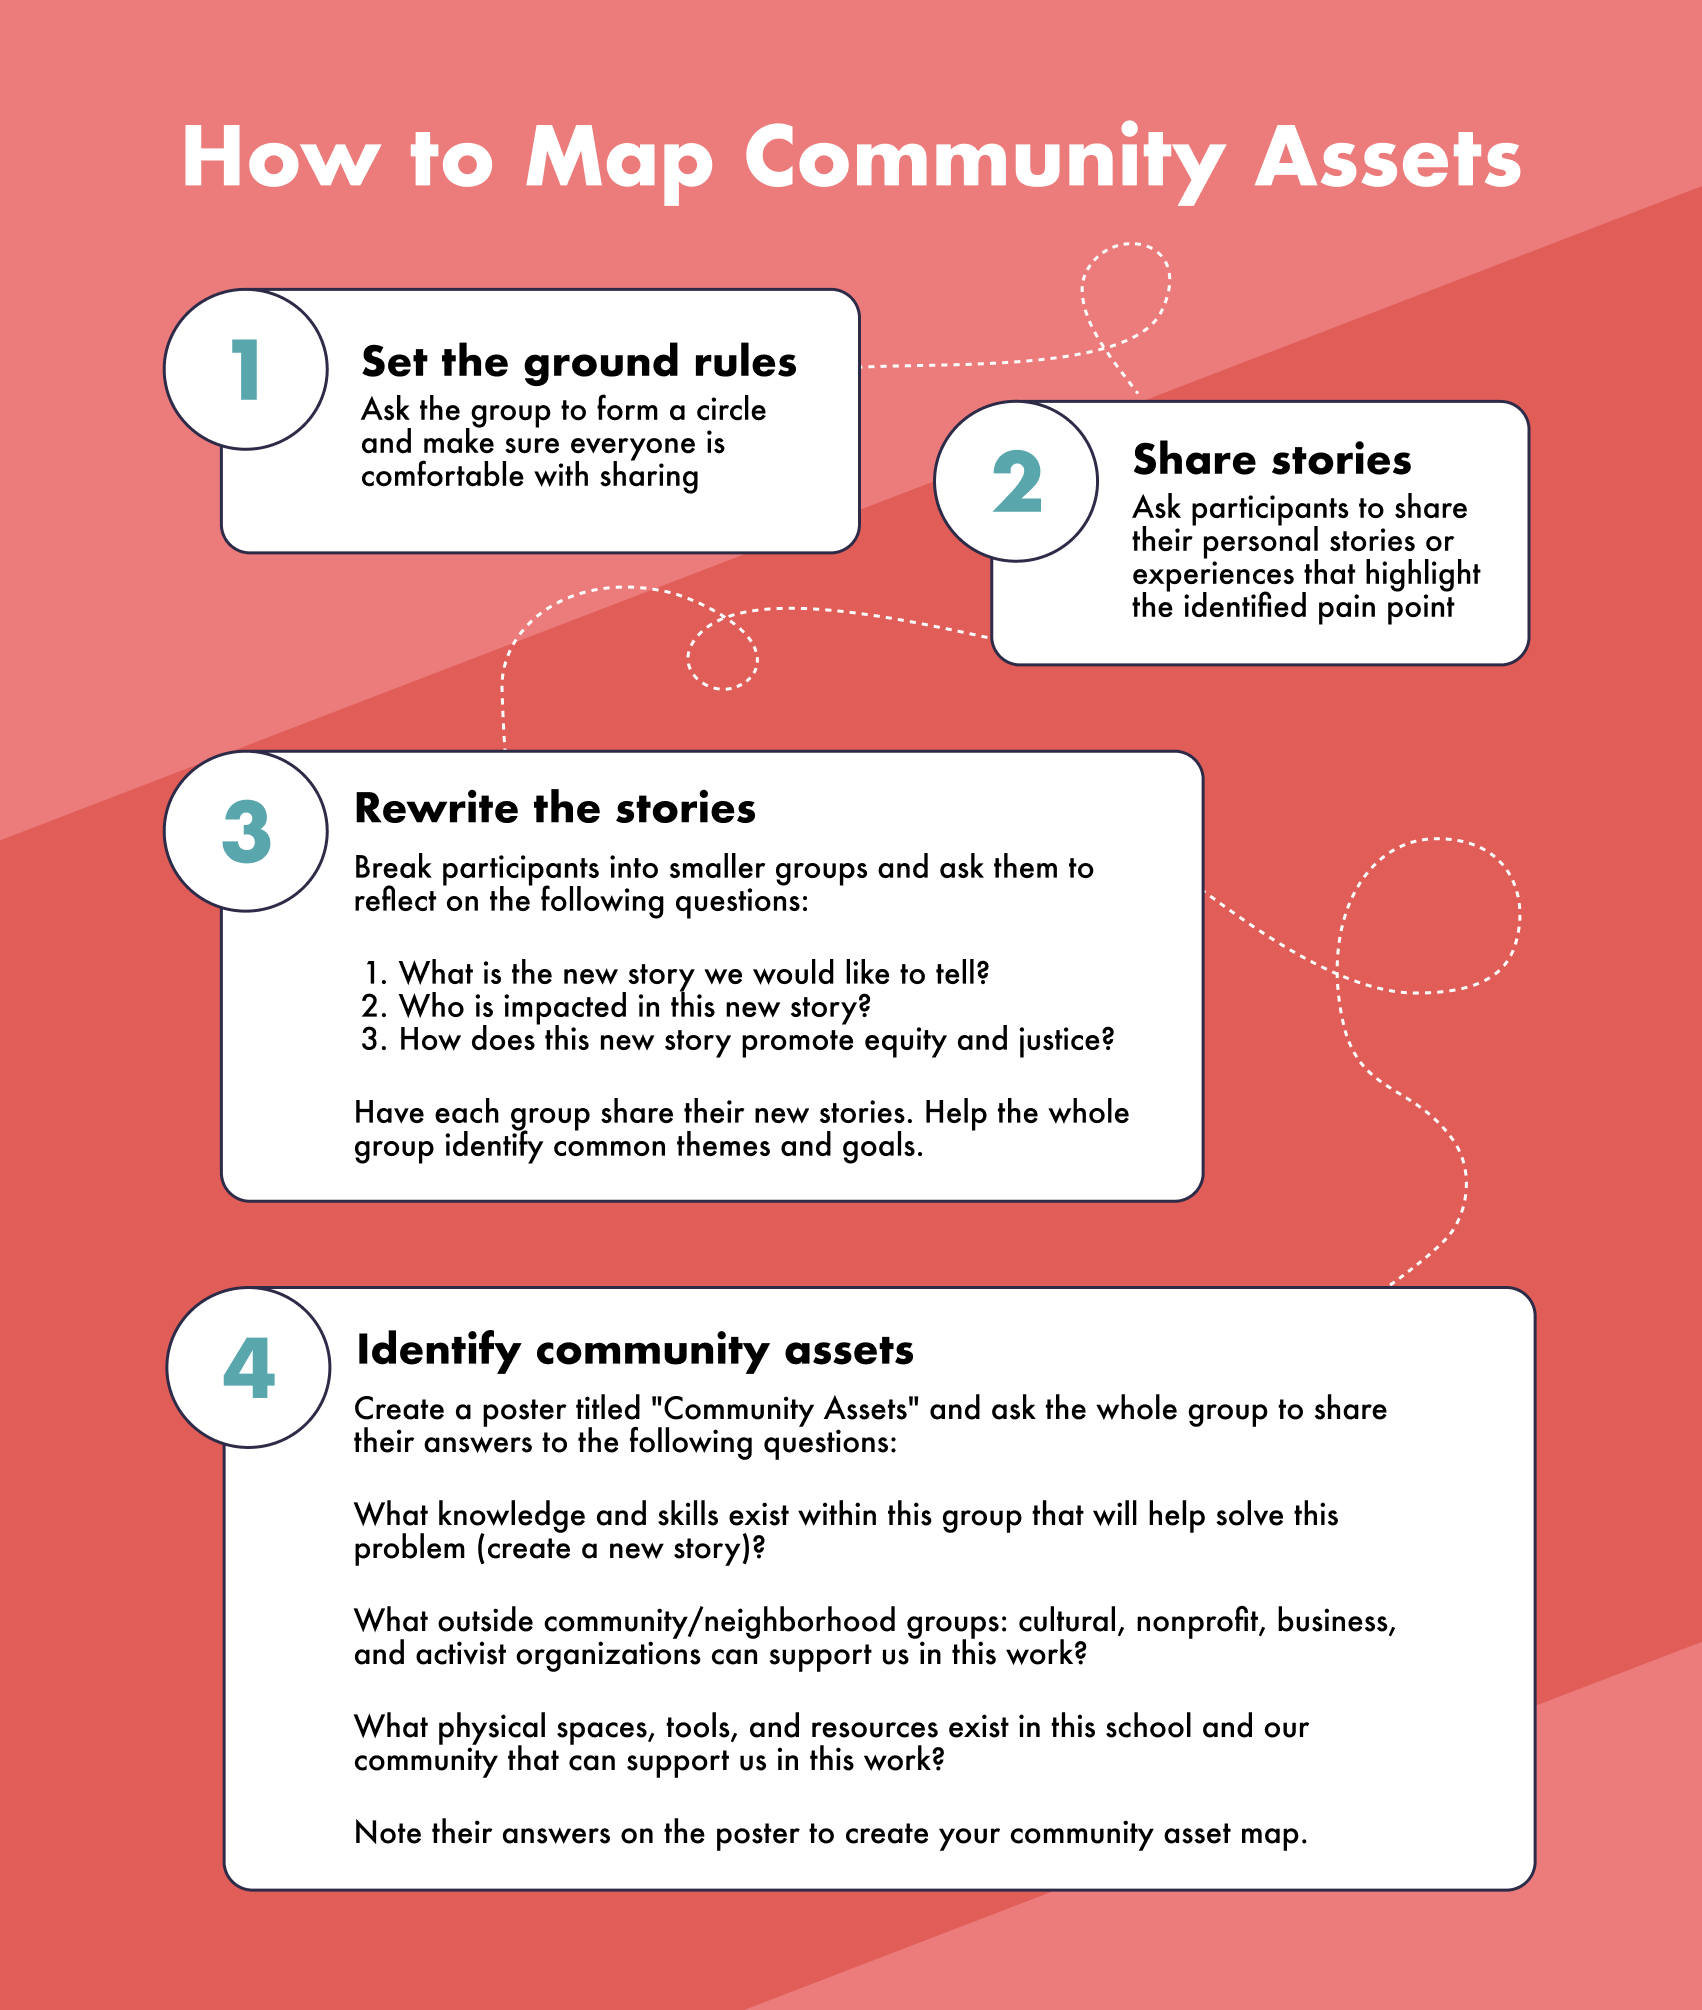
Step 1: Set the ground rules
Have the group sit in a circle and make sure everyone feels comfortable sharing. Set some ground rules, such as using a “talking piece” to ensure everyone has space to share.
Step 2: Share stories
Ask participants to share personal stories and experiences that highlight the identified pain point. Summarize each story in a notebook for reference. If the problem impacts students, consider waiting until you have students present to carry out this activity.
Step 3: Rewrite the stories
Once everyone has shared their story, break the group into smaller groups and ask each group to write the new story they want to tell about their school. Each group should appoint a note-taker who will capture the new story.
Read the following questions aloud and give participants five minutes to reflect on them:
What is the new story we would like to tell?
Who is impacted in this new story?
How does this new story promote equity and justice?
Once the five minutes are up, each group member will spend one to two minutes sharing their reflections with the rest of their group. The groups will then spend 15 to 20 minutes creating a new story.
Once that time has passed, one member of each group will spend one to two minutes sharing their new story. The facilitator will capture the main ideas on a “New Story” poster.
Finally, the whole group will rejoin and work together to identify common themes.
Step 4: Identify community assets
In this step, the facilitator will guide the group through the process of mapping the community assets that will help them make their new story a reality.
To do this, the facilitator will create another poster entitled “Community Assets.” They will then invite participants to answer the following questions:
What knowledge and skills exist within this group that will help solve this problem (create a new story)?
What outside community/neighborhood groups: cultural, nonprofit, business, and activist organizations can support us in this work?
What physical spaces, tools, and resources exist in this school and our community that can support us in this work?
If participants are new to the community or live outside the community, the group may need time to research these questions before mapping assets.
Community asset map template
Ready to start mapping your community assets? Download this done-for-you template and get started right away.
Set yourself up for success with community asset mapping
Community asset mapping is a fundamental part of codesign research. Use this step-by-step guide and template to gain valuable insights that will help you successfully carry out your project.


